Instant Ramen Soup in a Jar

Instant Soup in a Jar

This post contains affiliate links.  As an Amazon Associate I earn from qualifying purchases.  This means if you make a purchase from a link on my site, I may earn a commission at no extra cost to you.  I will never recommend a product or service that I do not personally use or like.

Lunchtime!!  Agh!  I know how it is. You either grab something pricey at the deli or worse, something pricey from a fast food joint.  Or you’re just too busy to remember to pack it at all so you go without or scrounge a half squished granola bar from the bottom of your bag.  Or you scarf down the dozen sticky raisins and half eaten sandwich triangles your toddler left behind. 

We can do better, friends!  This is one of my favorite frugal lunchtime hacks.  It’s fast, convenient, healthful, and easy on the wallet.  And like all my favorite things, it comes in a jar!  With a little pre-planning, you can create the ultimate comforting grab-and-go lunch, instant soup in a jar!

It’s like all the convenience of those cheapo soups in a cup, butway better!  Customize your soup in a jar to meet all of your dietary needs and preferences.

How Does Soup in a Jar Work?

The idea is to build a kind of ingredient parfait, layering the soup ingredients in the jar.  I’ll walk you through the general idea and give a few specific suggestions to get you started.

The Jar

A pint sized wide mouth Mason jar is perfect for this.  But you could use a different container if you like.  Another repurposed glass jar or reusable container with a lid will be ok, too.  If you want to make and eat your soup out of the jar you build it in (which is the idea), make sure your vessel is heat safe.  I generally prefer to avoid plastics for anything hot.

A pint, or two cups, is a perfect lunch sized portion for most folks.  If you want, you can double the ingredients and use a quart sized jar for a larger serving or for more than one person.

The shape of the jar also serves to keep the ingredients layered.  This maintains freshness and keeps things from getting soggy. You’ll also want the jar full-ish to minimize the air inside.

Instant Soup in a Jar Base

The Base or Broth

First, you’ll add a few teaspoons of a “base” to your jar.   This is what makes it truly “instant” soup in a jar- just add boiling water!  Think bouillon base, miso paste, curry paste, etc.  I sometimes use the organic Better than Bouillon base.  It comes in a variety of flavors, like chicken, beef, and vegetable.  Here is a bit more info about this particular brand if you’re interested. 

Now, I’m gonna be straight up with you and say that there are a few questionable ingredients in every single broth base and most boxed liquid  broths I have researched, including the organic varieties.  The only way to avoid it is by making your own broth, which you can totally use here.  Instead of using hot water, just use whatever hot broth you like!

Flavor Boosters

Next, you can add other liquid flavor boosters or enhancers if you like.  A few dashes of soy sauce or tamari, chili sauce, salsa, a squeeze of lemon/lime, a little coconut milk, a dollop of pesto, or pepper relish.  You can see how the options are endless!

The Main Event

Alright now for the good stuff.  This is the main section of your soup.  You’ll want to aim for about ¾ -1 cup of these ingredients per pint sized jar.  Because this is an “instant” soup, most ingredients need to be precooked so that they just require warming up a bit.  But there are a few ways of going about this that are a major upgrade from those nasty dehydrated peas and carrots.

Frozen vegetables– By the time you are ready to eat your soup, they will have already thawed and will be perfectly warmed by the hot water or broth.  Peas, corn, carrots, stir fry mix, green beans, and so on!

Leftover veggies – This is an awesome use for leftover cooked produce.  As you may know, I’m a huge fan of anything roasted.  This is a perfect way to use up that last bit of roasted squash, potatoes, beets, onions, Brussels sprouts, any of it!  If you have leftover steamed or sautéed vegetables, throw them in, too!

Canned beans or cooked lentils–  I love beans in soup and this is a great way to add extra protein and fiber to your lunch.  Whatever kind you like will work.

Finely diced or shredded raw vegetables–  Because we aren’t “cooking” the soup, these ingredients will still be crunchy.  But something like shredded carrots or cabbage can be a welcome texture in a sea of soft veg.  Diced mushrooms would be good, too. 

Add Ramen to Soup in a jar mix

Noodles, Rice, and Grains

Part of the idea of this parfait set up, is to keep your noodles away from your liquid-y base.  Again, because we aren’t cooking this instant soup in a jar, most noodles or other grain-y additions should already be cooked.  Leftover spaghetti, rotini, rice, quino, barley, and so on are welcome.

Here’s the exception: ramen noodles can go in dry!  Just like your dorm room staple, ramen will cook in just the hot water!  I really like these Millet and Brown Rice Ramen Noodles!  I sometimes get this large pack from Costco and use half a “patty” broken in pieces to fit in the jar.

Add cilantro to ramen soup in a jar

Fresh, Delicate Stuff on Top

Now for the little extras that will really bring this soup to life!  A sprinkle of cilantro, basil, parsley, diced scallions, a wedge of lime, etc.  This kind of stuff should hang out on top of the jar. This protects it from getting crushed or soggy.  I would also put delicate baby spinach or greens on top, too.

What About the Protein?

You may have noticed I left the protein out of our instant soup in a jar.  For maximum fridge life, pack your cooked chicken, ham, soft boiled eggs, cheese, etc. in a sidecar.  Just add it in when you prepare the soup.  Without these ingredients, a vegetable-only jar of soup will be fresh for 4ish days in the fridge.  That way it’s easy to prep them on the weekend for a grab-and-go meal throughout the week. 

Let’s Eat!!

Finally, to enjoy your instant soup, fill the jar with boiling water (or broth if using instead.)  Use a chopstick to stir the soup and dissolve the base at the bottom of the jar.  Next, place the lid on and allow the soup to heat up for about 5 minutes (and the ramen to soften, if applicable).  I also like to give it a little shake, but be careful the jar is pretty hot!

Tada!  I usually just eat it straight from the jar, but of course, a bowl works, too, if you’re into that kind of thing.

Finished Instant Soup in the Jar

A Springboard: Instant Vegetable Ramen Soup in a Jar

I know, I know.  I just blabbed on for a thousand words about how you can just use anything you want in your soup jar.  Which is true!  But, sometimes it’s nice to have a place to start.  So here is an easy, printable recipe idea (and a little video) to get you started.

Lemme know what you think!  I would love to hear what you come up with.  Please share in the comments below. 

Yield: 2 cups

Instant Vegetable Ramen Soup in a Jar

Instant Ramen Soup in a Jar

It’s fast, convenient, satisfying, packed with nutrients, and easy on the wallet.  And like all my favorite things, it comes in a jar! With a little pre-planning, you can create the ultimate comforting grab and go lunch, instant vegetable ramen noodle soup in a jar!
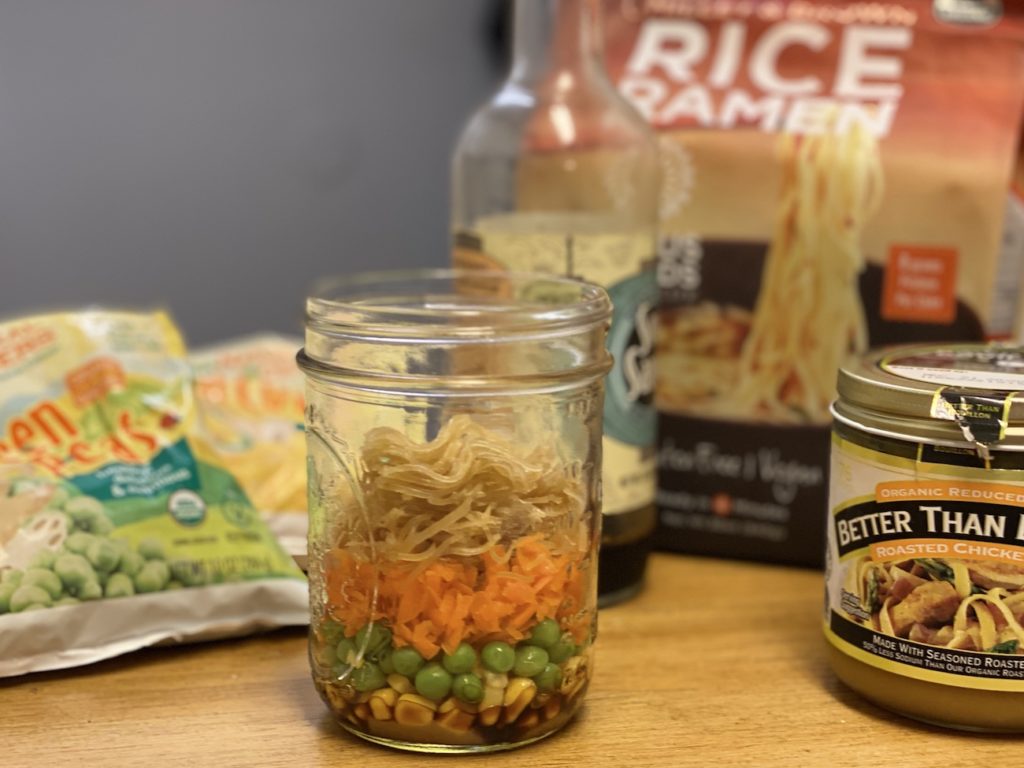
Prep Time 10 minutes
Cook Time 5 minutes
Total Time 15 minutes

Ingredients

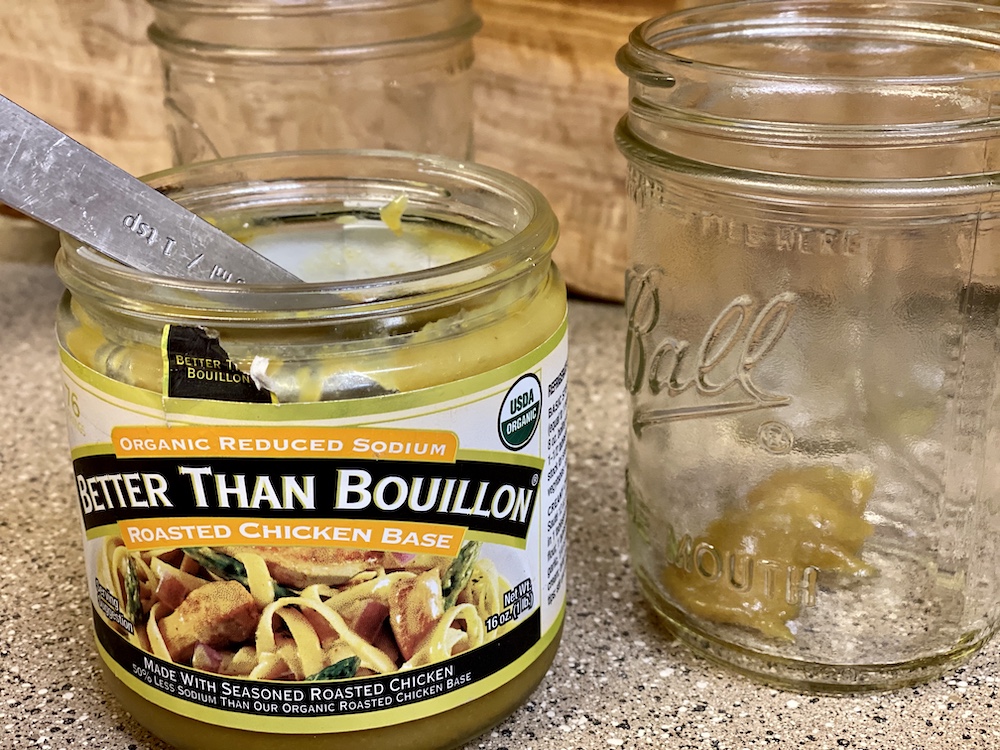
  • 2 tsp Better than Bouillon (or like soup base) 
  • 1 tsp soy sauce or tamari
  • 1/4 cup frozen corn
  • 1/4 cup frozen peas
  • 1/4 cup shredded carrots
  • 1/2 a patty of millet and brown rice ramen noodles
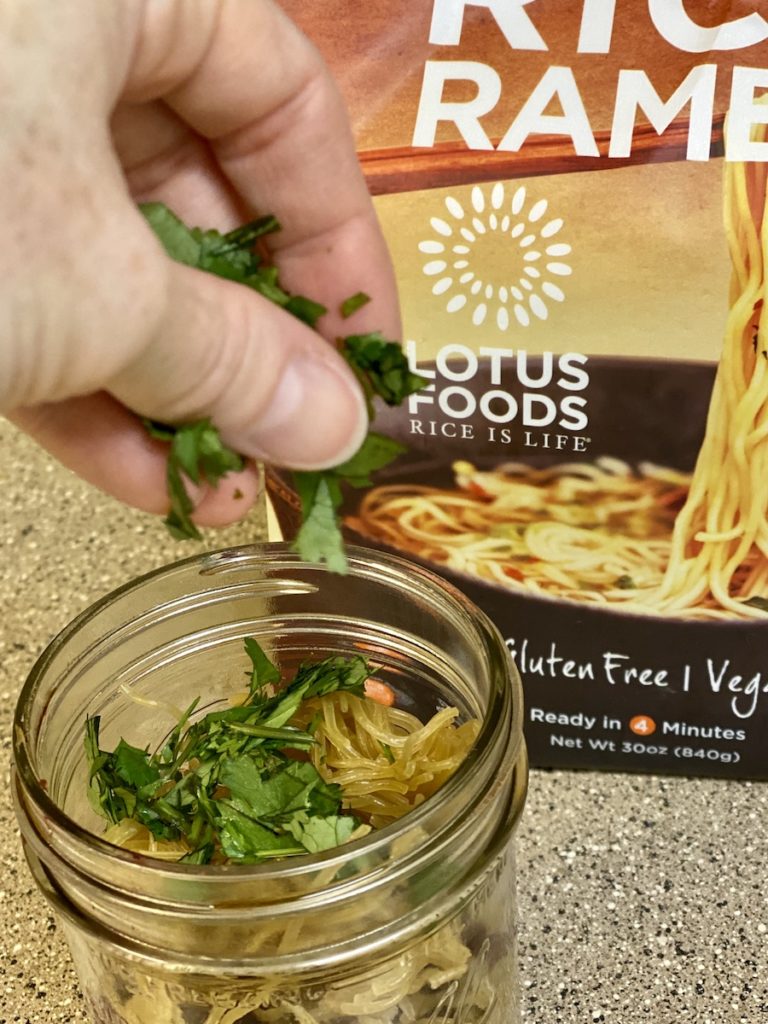
  • 1/2 cup chopped baby greens
  • 1 T chopped cilantro
  • 1 T diced green onion

Instructions

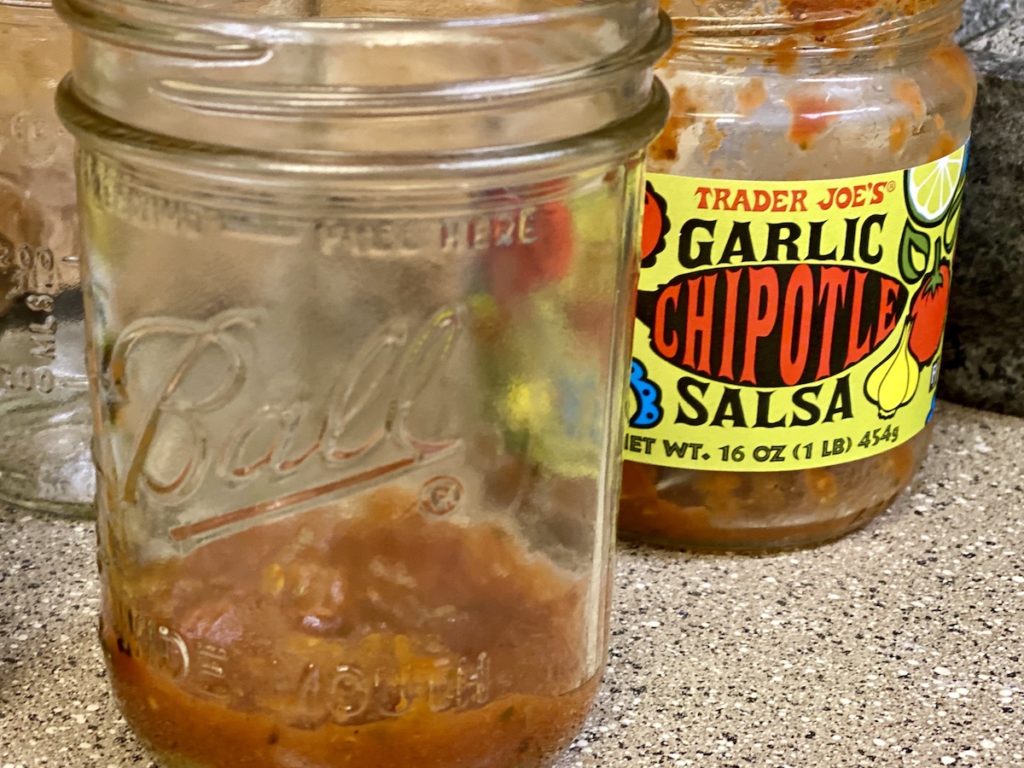
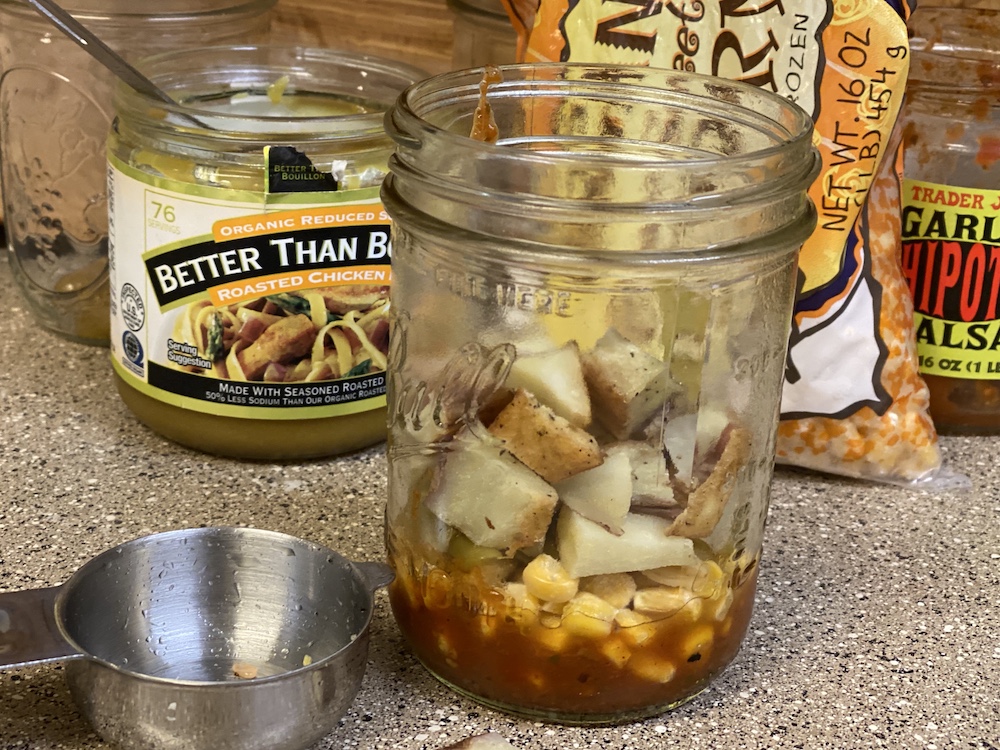
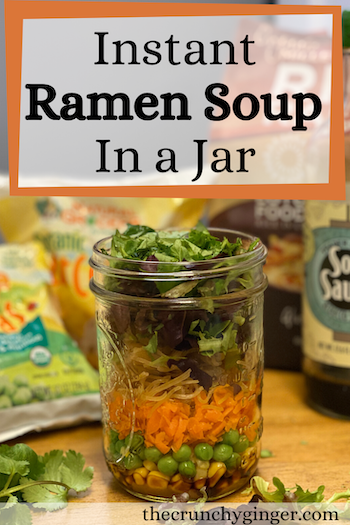
  1. In a wide mouth pint sized Mason jar (or similar container with a lid) layer ingredients in the following order: soup base*, soy sauce, frozen corn, frozen peas, shredded carrots, 1/2 of a ramen patty (broken to fit), chopped baby greens, cilantro, and green onion. Secure lid and store in the fridge for later use (up to 4 days in advance).
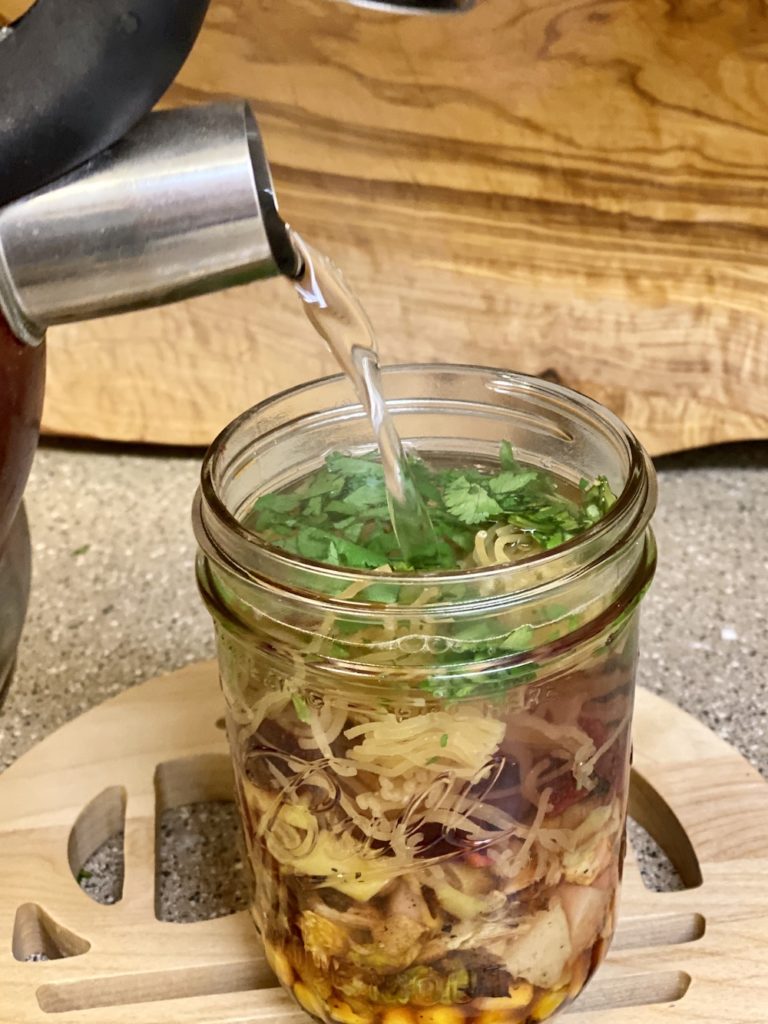
  2. When ready to prepare the soup, pour boiling water into jar over the soup mix. Using a chopstick, stir and mix in the base at the bottom of the jar.  Then place the lid on and allow the soup to heat up for about 5 minutes (and the ramen to soften). I also like to give it a little shake, but be careful the jar is pretty hot! 
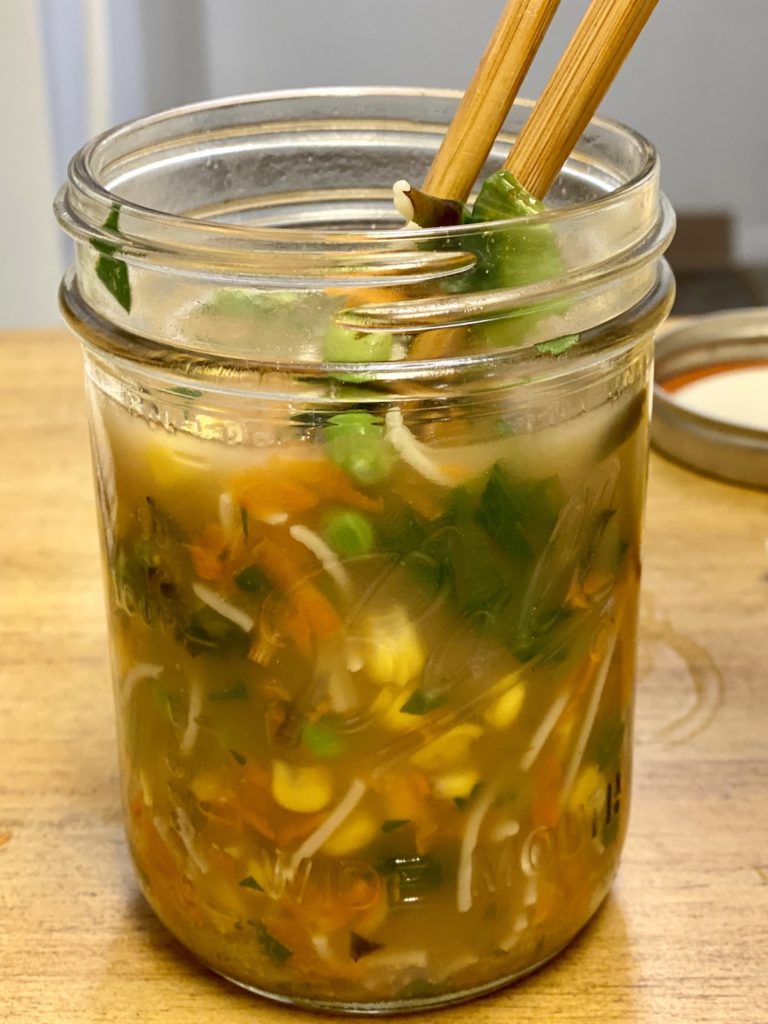
  3. Tada!  Eat it straight from the jar or transfer to a bowl if you’re feeling fancy!

Notes

*If you prefer to not use the soup base, leave it out of the mix and fill your jar with hot broth instead!

If you are preparing the soup ahead of time, there is no need to thaw or cook the frozen veggies. They will thaw in the fridge on their own.

Recommended Products

This post contains affiliate links. As an Amazon Associate I earn from qualifying purchases. This means if you make a purchase from a link on my site, I may earn a commission at no extra cost to you. I will never recommend a product or service that I do not personally use or like.

Leave a Comment

Your email address will not be published. Required fields are marked *

Skip to Recipe