Yield: 10 ml (about 2 tsp)
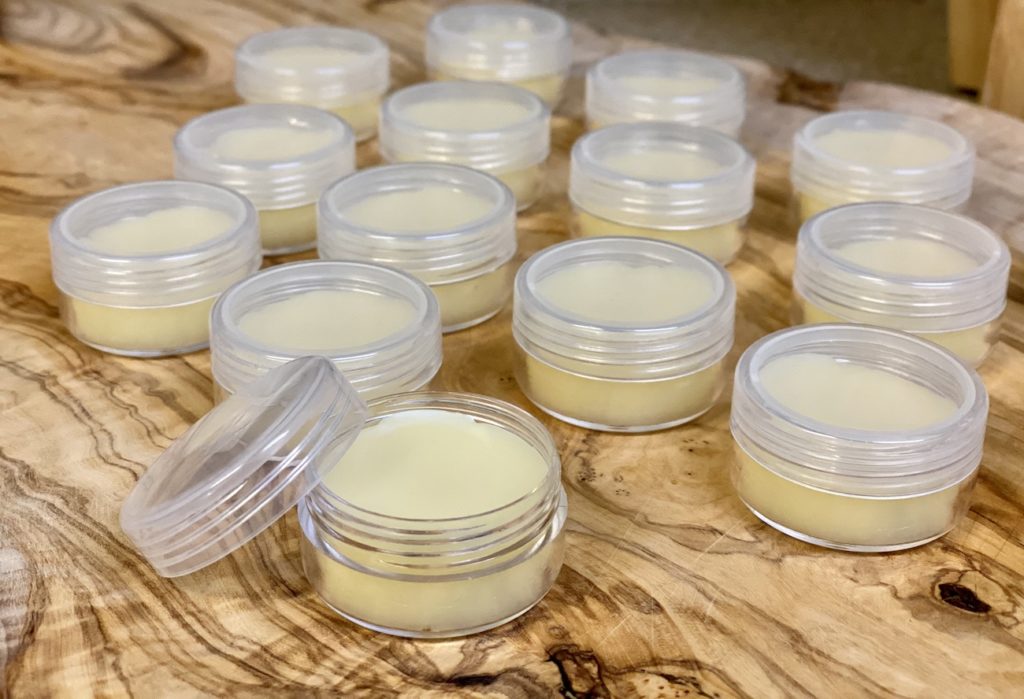
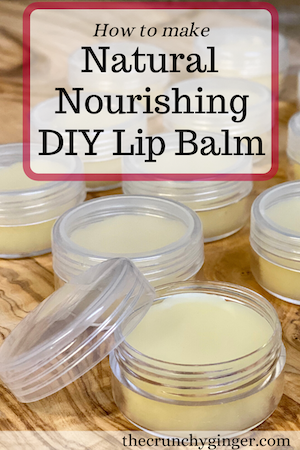
Nourishing Lip Balm
This recipe is everything a good balm should be: not too melty, a little minty, and deeply nourishing. It's simple to scale up the ratios if you want to make a bigger batch to stock up or give as gifts.
Prep Time
5 minutes
Active Time
10 minutes
Additional Time
1 hour
Total Time
1 hour 15 minutes
Difficulty
easy
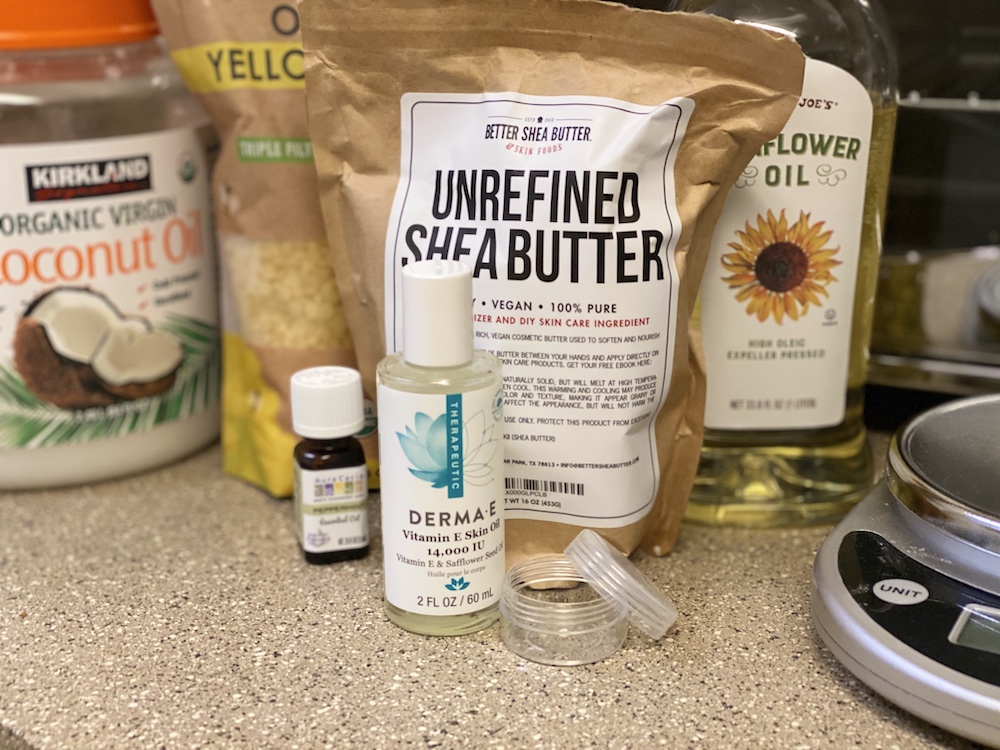
Materials
- 2g beeswax
- 2 g coconut oil
- 2 g shea butter (or cocoa butter or mango butter)
- 4 g sunflower oil (or other liquid carrier oil)
- 1 drop vitamin E oil
- Optional: 2 drops peppermint essential oil (or other eo)
Tools
- double broiler or small heat proof bowl and small saucepan
- spatula or spoon
- small container
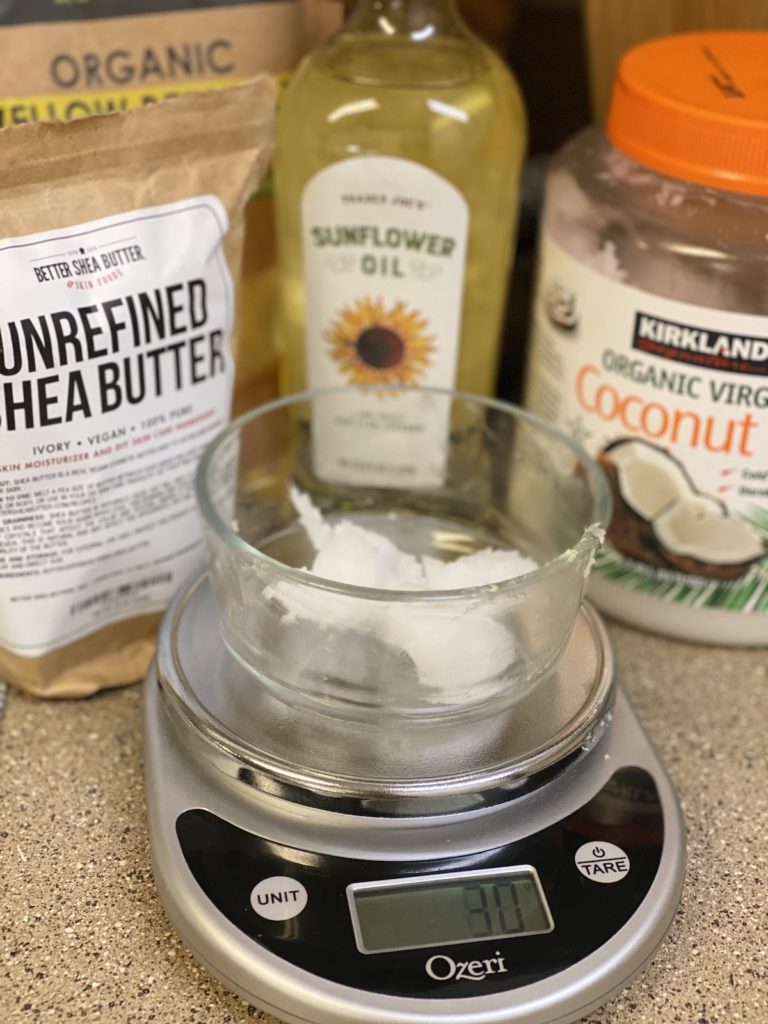
- kitchen scale
Instructions
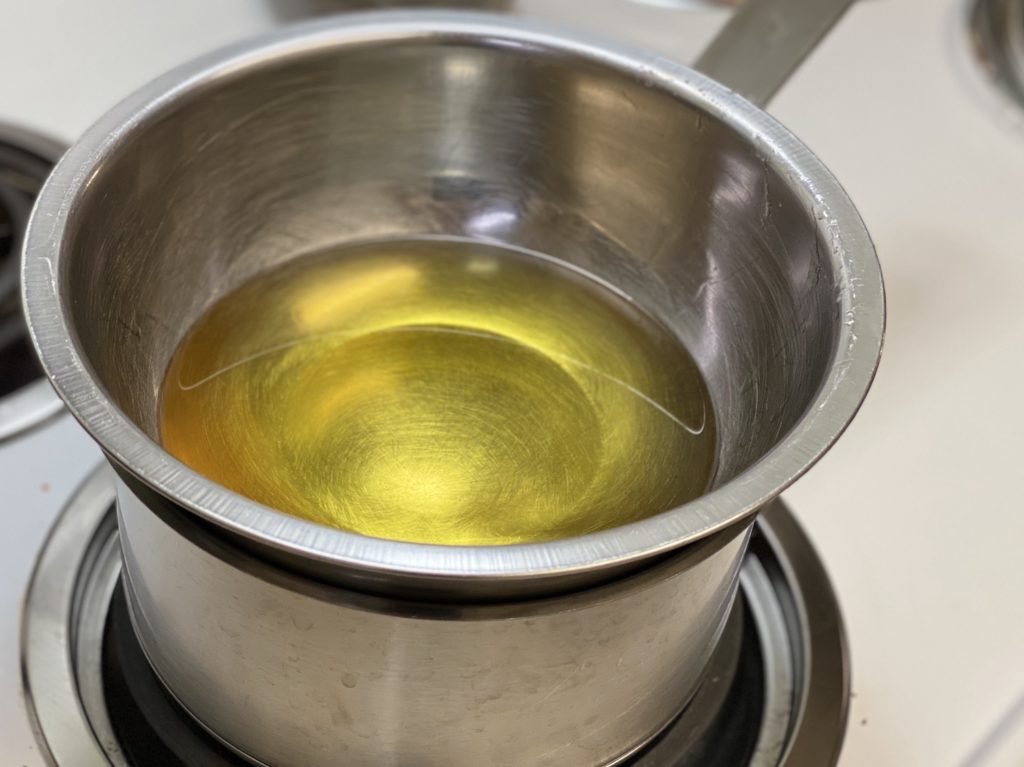
- Place beeswax, coconut oil, shea butter, and sunflower oil in a double boiler or a heatproof bowl on top of a saucepan of simmering water. Stir gently until all are completely melted.
- Remove from heat and stir in vitamin E oil and essential oil (if using).
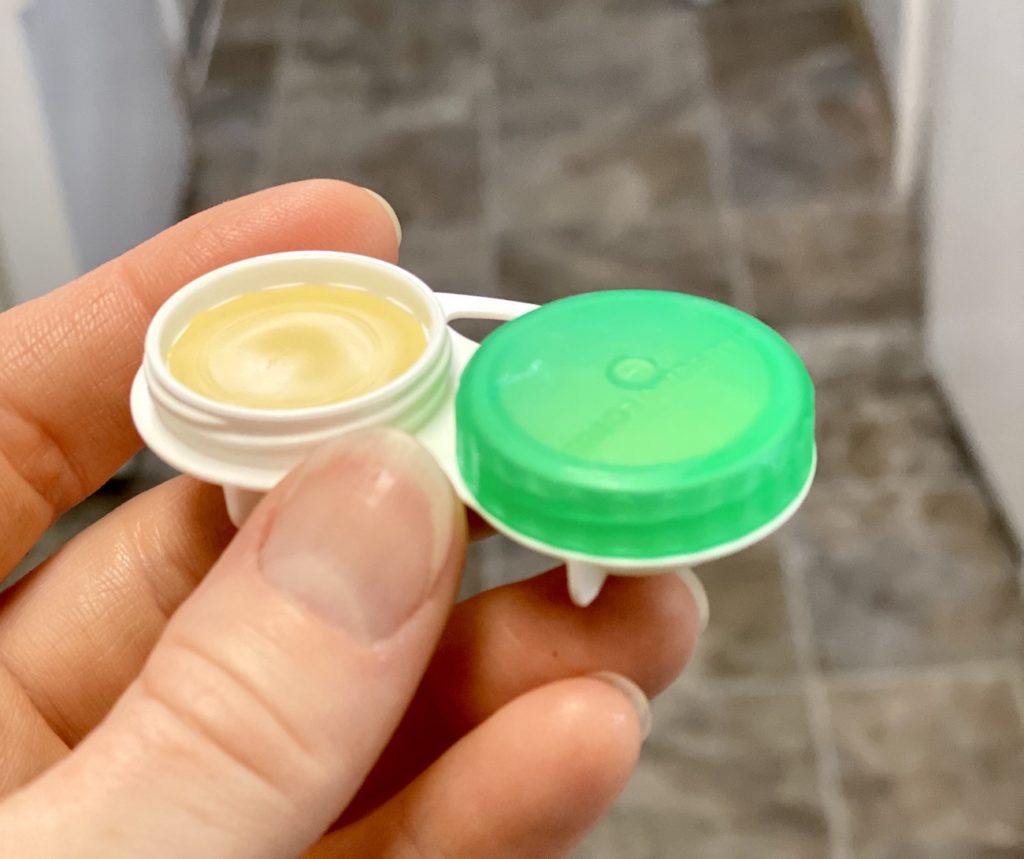
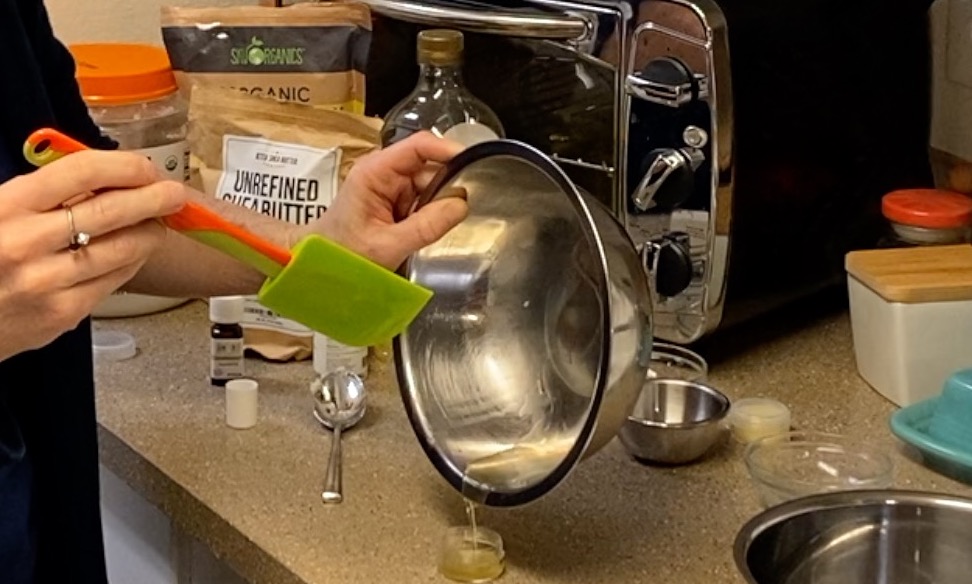
- Carefully (but quickly) pour the liquid oil mixture into lip balm container(s) and allow to sit until product has completely cooled. For faster results move the lip balm to the fridge after it’s cooled slightly.
- When the balm is completely cool, cap it and you’re good to go! This balm should have a shelf life of about 6 months - a year.
Notes
If your mixture begins to harden in the bowl before you have managed to fill all the little containers, simply set it back on the heat to remelt. It’s very forgiving.
Recommended Products
This post contains affiliate links. As an Amazon Associate I earn from qualifying purchases. This means if you make a purchase from a link on my site, I may earn a commission at no extra cost to you. I will never recommend a product or service that I do not personally use or like.
-
 Unrefined African Shea Butter - Ivory, 100% Pure & Raw - Moisturizing and Rich Body Butter for Dry Skin - Suitable for All Skin Types - Use Alone or in DIY Whipped Body Butters - 16 oz (1 LB) Bar
 -
 Sky Organics USDA Organic Yellow Beeswax Pellets (2lb) Pure Beeswax No Toxic Pesticides or Chemicals - 3 x Filtered, Easy Melt Pastilles- for DIY, Candles, Skin Care, Lip Balm (Pack of 2)
 -
 DERMA E Vitamin E Skin Oil 14,000 IU 2 fl oz
 -
 Organic Extra Virgin Coconut Oil by Sky Organics 16.9 oz- USDA Organic Coconut Oil, Cold-Pressed, Kosher, Cruelty-Free, Color Corrector, Skin Moisturizer, Hair Treatment & Baking(1 Pack)
 -
 Ozeri ZK14-S Pronto Digital Multifunction Kitchen and Food Scale, Elegant Black, 8.25
Have you had any success with a hardening element that isn’t beeswax? I’m not vegan or anything but I typically buy vegan lip balm because beeswax makes me break out so badly – and it’s in so many natural lip balms.
I am also going to experiment with making my own toothpaste. I found this recipe from someone with a similar dental history as myself (teeth all messed up and damaged after braces). Have you tried any recipes like this? I am going to modify the recipe to use monk fruit sweetener instead of stevia because I think it has less of an aftertaste and to use a wintergreen flavoring instead of peppermint because I like it better. I can’t deal with the site because of the ad vomit all over the place – but I am excited to try. https://www.butterforall.com/traditional-cooking-traditional-living/whitening-remineralizing-detoxifying-coconut-oil-toothpaste/
Hey Lesley!
I have always used beeswax, but I would try candelilla wax as an alternative. From what I understand, it is “harder” than beeswax so you need less of it. Some folks suggest using half the amount of candelilla. I think you’ve just given me a great idea for a new post…! Thanks 🙂
I have never made any kind of toothpaste, but I would be very curious to see how this recipe works for you! (ad vomit, haha!)