10 Tips for Using Spring Greens

Spring Greens Basket

This post contains affiliate links.  As an Amazon Associate I earn from qualifying purchases.  This means if you make a purchase from a link on my site, I may earn a commission at no extra cost to you.  I will never recommend a product or service that I do not personally use or like.

This week, my CSA farmbasket was overflowing with spring greens.  Salad greens, mustard greens, turnips and radishes topped with beautiful bunches of leaves… I will be honest, I felt a little overwhelmed, especially with the thought of my own crop of radishes quickly maturing in my community garden plot.  It seemed like the perfect time to double down and make the most of these tender spring greens!  Let’s get some inspiration together with this list of my top 10 tips for using spring greens.

Spring Greens Tip #1: Prep Ahead of Time

Prep salad greens right away.  The reason is twofold.  First, it makes the healthy choice the easy choice.   I am much more likely to grab a handful of baby spinach to stuff in a sandwich or sprinkle on eggs if it is ready to go.  But also, garden or farm fresh veggies can sometimes hide tiny stowaways, like slugs.  It’s best to rid your crisper drawer of these pests before they help themselves to a feast.  

washing spring greens

How to Wash Spring Salad Greens

To wash greens, I like to use the method recommended by our farmers at Pumpkin Ridge Gardens.  (They’re the experts after all.)

Place a stopper in a clean sink and sprinkle in 2 tsp of salt.  Add a few splashes of warm water and stir it around to dissolve the salt.  Next fill the sink with enough cold water to allow your leaves to float.  Dump in the greens and give them a couple of swishes.  Allow them to settle for  a few minutes so that the sediment can sink to the bottom (and any hangers-on can dislodge.)  Scope the clean greens gently from the bath and spin dry.  

Pack your prepped spring greens in a sealed container or a plastic zip top bag with a thin dish cloth or a few paper towels.  Greens should keep fresh at least a week.

Spring Greens Tip #2: Detach the "Bonus" Greens

Radish and turnip greens are some of my favorite spring greens.  The frugal part of me simply rejoices at this buy one, get one free produce!  These 2-for-1 greens are edible and delicious.  But in order to make the most of them, they need to be stored properly.  Separated from their roots.

bonus spring greens

Cut or snap radishes, turnips, beets, carrots, etc. from their leafy tops.  Otherwise, the leaves will continue to leach moisture from the roots and dry them out.  I like to store them in separate plastic bags in the crisper drawer.

Spring Greens Tip #3: Chop 'Em Up

Typically, you’ll need to chop your spring greens before cooking.  For most greens, you’ll want to remove any heavy stems before slicing up the leaves.  But that doesn’t mean you have to chuck them in the compost!  I especially like rainbow chard stems because they are crunchy and colorful.  But since they take longer to cook then the tender leaves, I chop them up separately and add them to the pan a few minutes before the rest of the leaves.  This will give them a head start so that everything cooks evenly.  

Rainbow chard stems

To make quick work of unruly or large leaves, roll them up like a leafy burrito and thinly slice into ribbons.

chopping spring green leaves

Spring Greens Tip #4: Salad in Jars

While salad is perhaps the most obvious choice for your delicate lettuces, arugula, or young spinach, don’t be afraid to mix in a few zesty mustard greens or some crunchy bok choy.  For stress-free grab and go salads that are ready when you are, try prepping a half dozen or so salads in a jar.  It’s the ultimate time saver!  You’ll batch prep your individual or family size salads in mason jars, by layering the ingredients for maximum freshness.  

jar salad army

Here’s a step by step tutorial.

Spring Greens Tip #5: Mixed Greens Enchiladas

This is perhaps my absolute favorite way to use up a LOT of greens. It’s a filling vegetarian twist on enchiladas, although it would be easy to mix in some leftover chicken.  This Mixed Greens Enchilada recipe came to us from our CSA farm Pumpkin Ridge Gardens.

pouring cheese sauce

It’s easy to adapt for whatever you’ve got on hand.  I’ve made this dozens of times using basically every green you can think of, from radish greens to chard to spinach to mustard greens…. It’s also a good way to quickly use up any greens that are beginning to get a bit wilty.

Yield: 6 enchiladas

Mixed Greens Enchiladas

Green Enchiladas

This filling vegetarian twist on enchiladas, is packed with flavor and is delicious with whatever greens you’ve got on hand. It's a real crowd pleaser!

Adapted from a recipe from Pumpkin Ridge Gardens

Prep Time 10 minutes
Cook Time 40 minutes
Total Time 50 minutes

Ingredients

  • 2 T extra virgin olive oil
  • 1 medium onion, chopped
  • 2-3 garlic cloves, chopped
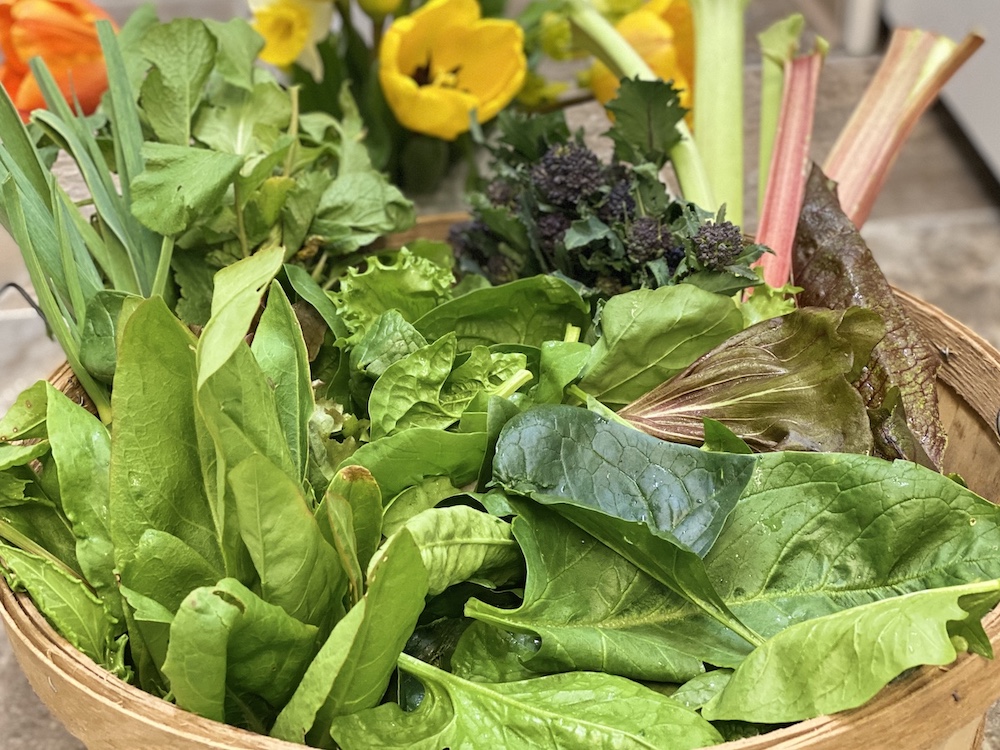
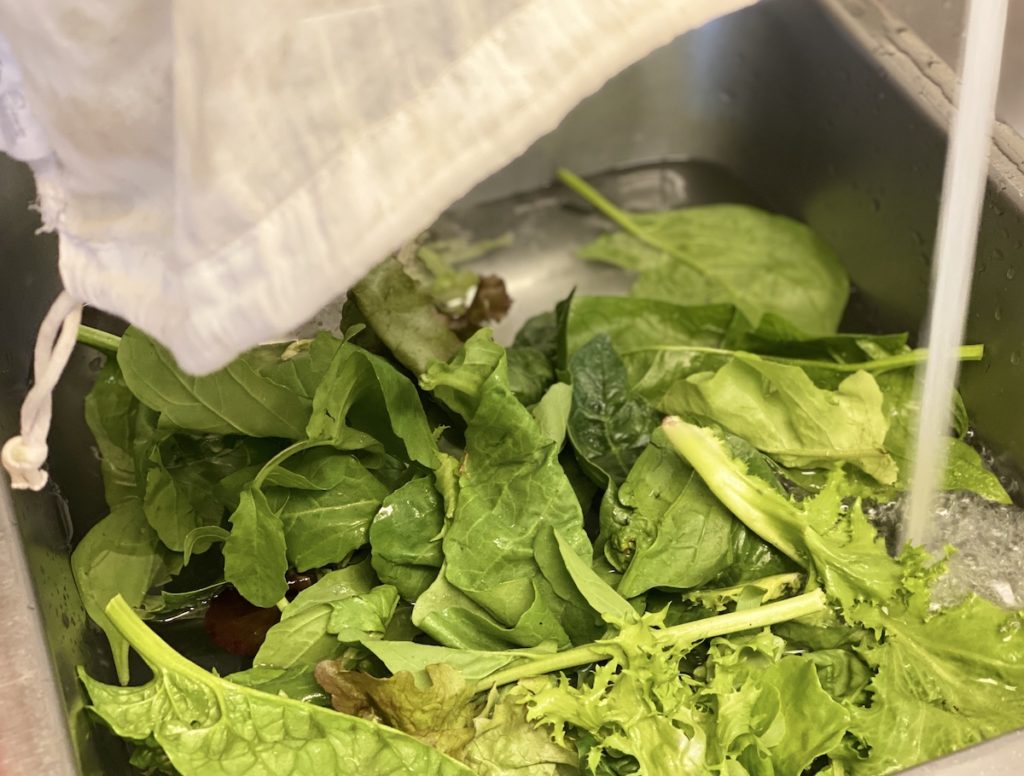
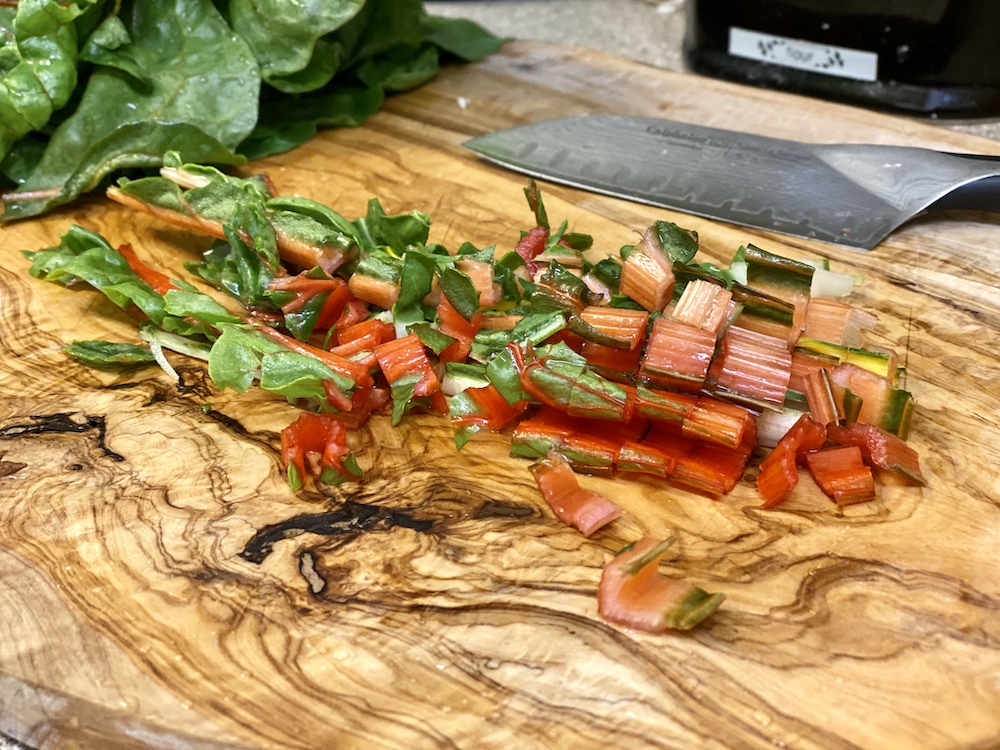
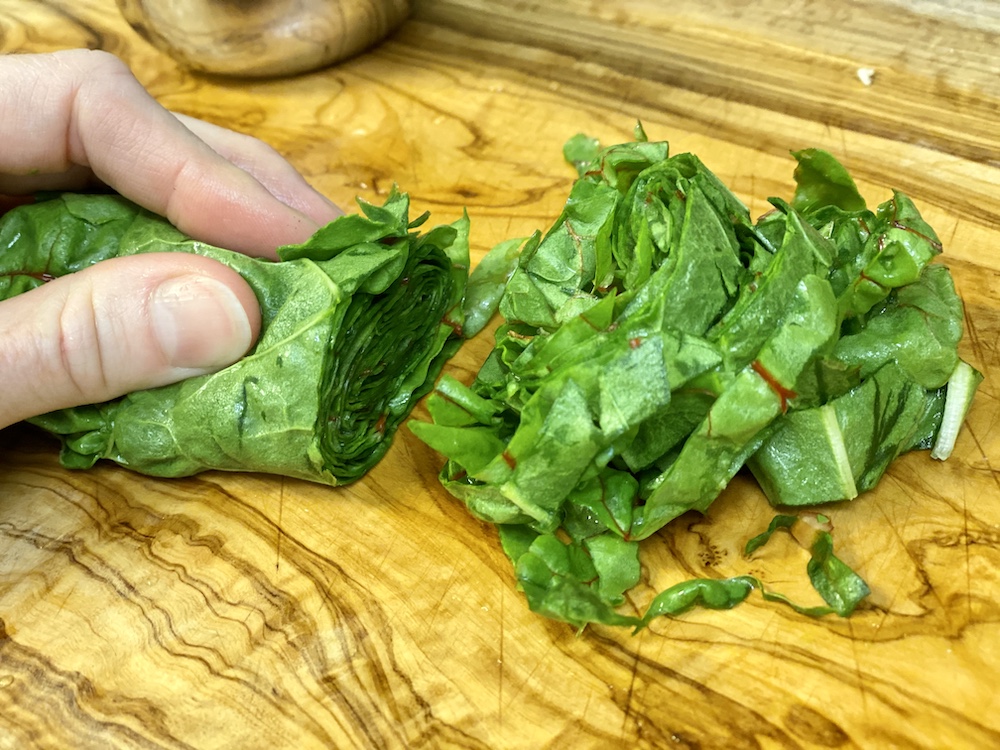
  • 4-6 cups of chopped greens, any variety (spinach, chard, mustard greens, turnip greens, etc.)
  • 1 T butter
  • 1 T flour
  • 1/2 cup milk
  • 1 1/2 cups shredded cheese (cheddar, pepperjack, monterey jack, etc.)
  • 6 flour tortillas
  • 15 oz jar (or about 2 cups) of salsa

Instructions

  1. Preheat oven to 375°F. Lightly grease a casserole dish and set aside.
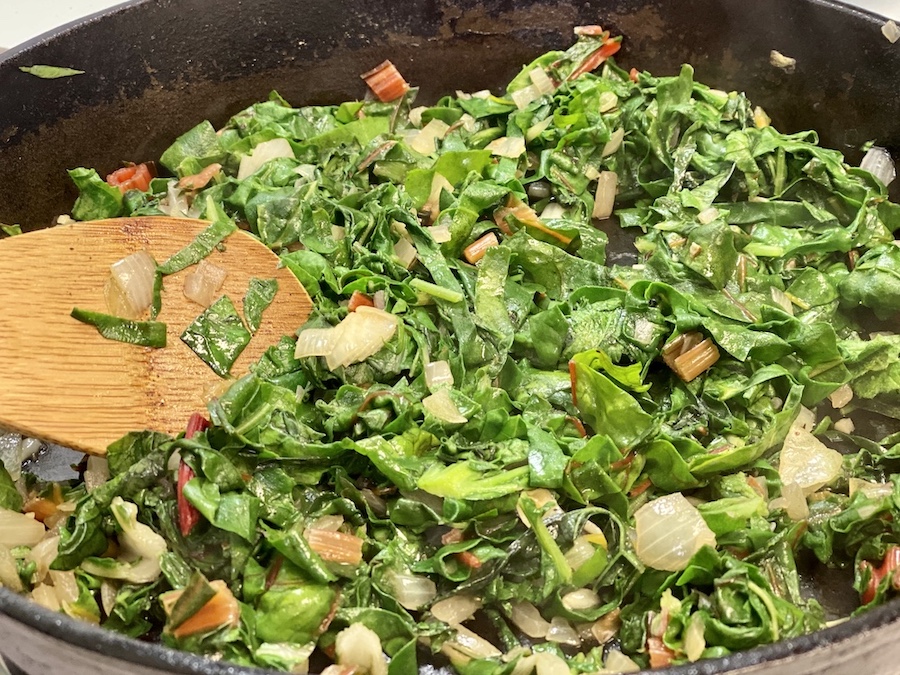
  2. Heat oil in a large skillet over medium heat. Saute onion with a pinch of salt for 3-5 minutes until translucent. Add garlic and cook for another minute until fragrant. Add chopped greens with another pinch of salt and a few cracks of black pepper. Stir to coat. Cook until greens are cooked down.
  3. Meanwhile, in a small saucepan, melt butter over medium-low heat. Stir in flour. Add milk and then slowly add the shredded cheese, whisking frequently until a thick sauce forms.
  4. Stir cheese sauce into the greens. Divide mixture between the tortillas, roll, and place them into prepared casserole dish.
  5. Spread salsa of your choice over the enchiladas.
  6. Bake 25 minutes.

Notes

I have made this recipe using all manor of greens and it’s always delicious! Spinach, kale, mustard greens, chard, radish and turnip greens, collards… Mix and match, use what you have.

In addition to regular salsa, I also enjoy this with a delicious creamy green salsa by mixing salsa verde with sour cream. You could also use enchilada sauce.

Spring Greens Tip #6: Alternative Pesto

I’ve said it before, and I’ll say it again: everything green is a pesto waiting to happen.  While traditional pesto is made of basil, many other herbs and greens (as well as peas and broccoli) make a versatile and delicious sauce.  

Alternative Pesto and fennel

One of the great things about these alternative pestos is that they freeze well.  So if you whip up a big batch of say mustard green pesto, you could keep it in the fridge for about 3 days.  Or you could freeze it for later use!  I like to freeze pesto in cubes of about 2 tablespoons.  They’re the perfect size to throw in a pan of sautéed green beans or corn.  And I always drop a few into a pot of vegetable or chicken soup to punch up the flavor. 

I’ve created what I like to think of as an “unrecipe” for alternative pesto sauce so you can plug in whatever spring greens you want to use!

Spring Greens Tip #7: Soups and Stews

Speaking of soups, I love a creamy pot of green soup on a cool spring night. While this soup from Allrecipes would be tasty with any greens, I have made it a number of times with radish greens.  All you really need is a few potatoes, an onion, and a big bowl of greens.  While it’s written for a stove top, I like to make it in the Crock-pot and use an immersion stick blender to simplify dinner time.

radish top soup

Stews are an excellent place to use any number of spring greens.  Sprinkle a few big  handfuls of whatever greens you have into a mixed veggie, bean, or chicken stew.  

Spring Greens Tip #8: Salad Pizza

My kids are usually game to eat their veggies, but they will always eat anything on a pizza.  While it might sound a little unusual at first, we love this radish greens pizza.  I make mine on this crispy sourdough crust, but any crust you like will do!

Radish pizza

Adding a layer of  spring greens to your pie is an unexpected way to punch up the nutritional value and flavor profile.  As a bonus, thinly sliced radishes add a little crunch and color, too!

Spring Greens Tip #9: Roast It!

I believe every vegetable can be roasted and spring greens are no exception.  Bok choy and other spring cabbage are my favorites for this preparation.  With its crunchy stalks, it holds up well to a hot oven.  

Roasted bok choy

Slice bok choy in half length-wise and lay in a baking dish.  Drizzle with olive oil and salt and pepper.  Or for an Asian flavored dish, whisk together a few splashes of soy sauce, rice vinegar, toasted sesame oil, and a squirt of sriracha.  Drizzle over the greens and roast for 15-20 minutes at 400°F, turning halfway through cooking, until leaves are wilted.

Spring Greens Tip #10: Just Throw It in the Pan

When you’re in a hurry, any large heap of greens can be wilted down into an easy side.  For a simple weeknight saute, melt a few tablespoons of butter or heat a swirl of olive oil in a large skillet over medium heat.  Add diced onion, leeks, and/or garlic.  (For a spicy dish, toss in a pinch of pepper flakes.)  When the onion is translucent, add in chopped greens of your choice and sprinkle with salt and pepper.  Stir occasionally until cooked down.  Serve it with literally anything, or mix into your favorite pasta dish. 

spring green saute

Alternatively, cook a few pieces of bacon in a large skillet and remove them when crispy.  Toss your greens in the bacon grease and sprinkle the bacon bits back in when the greens are wilted.  Never underestimate the power of a little bacon. 

Happy Spring! Veg Out!

With so many exciting ways to use spring greens, it’s easy to work them into any meal!  These nutrient dense leaves are largely interchangeable, so sub in what you have or what you love.  And don’t be afraid to try something new! 

For more tips about how to make the most of your CSA, farmer’s market haul or subscription produce box, start here.


What fresh spring veggies do you wait for all winter long?  What’s your favorite way to use them? 

2 thoughts on “10 Tips for Using Spring Greens”

  1. You’ve saved me! I also have so much greens from my CSA and this helps to get these greens into the kids instead of having salad at every meal…which is not so popular!

Leave a Comment

Your email address will not be published. Required fields are marked *

Skip to Recipe