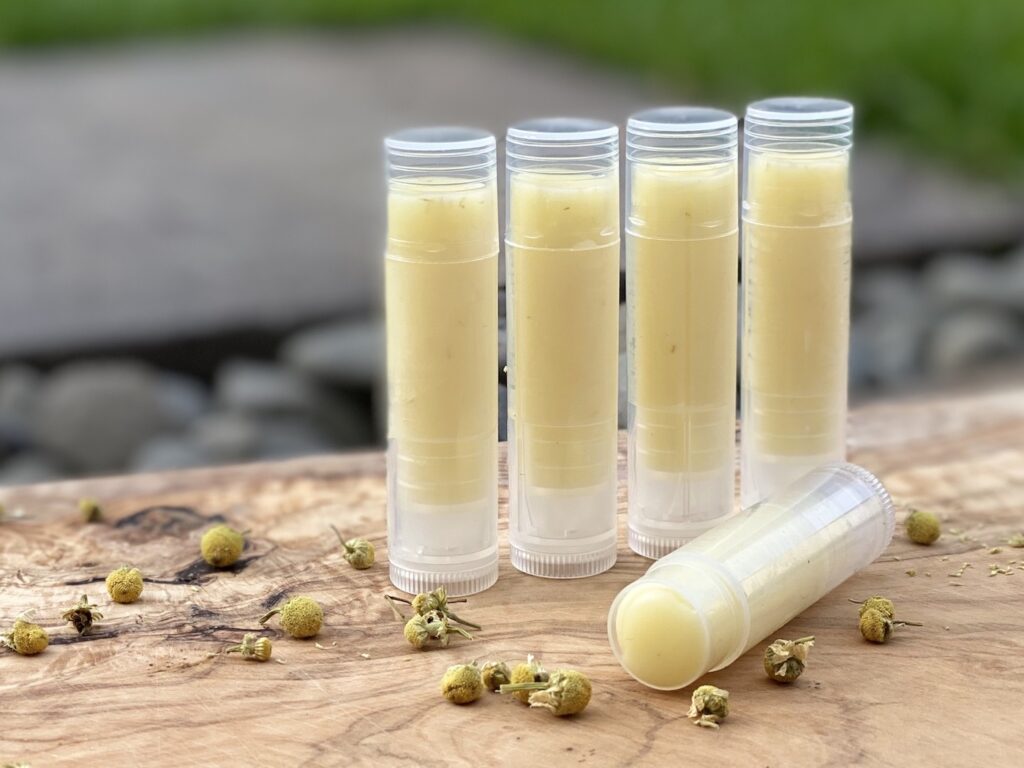
DIY Bug Bite Balm - Kid Safe Itchy Stick!
These easy DIY bug bite balm sticks are safe for kids and provide quick relief for minor bug bites, stings, skin irritations, and even little boo-boos!
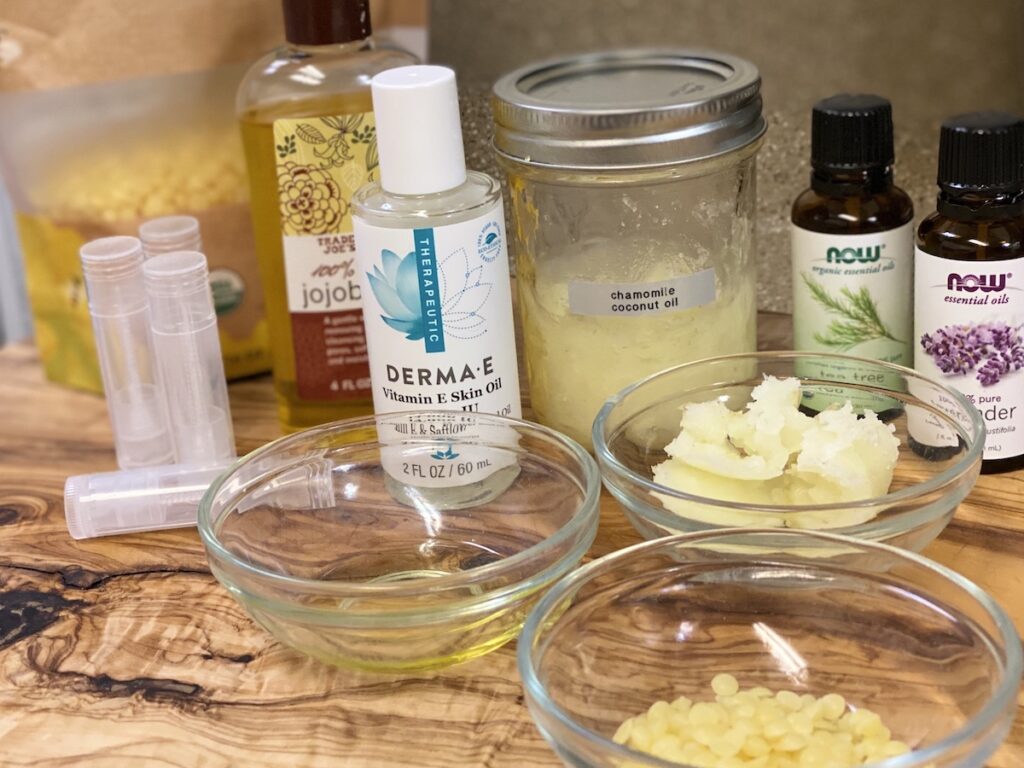
Materials
- 18g (about 1 T) chamomile infused coconut oil* (or regular coconut oil)
- 8g (about 2 tsp) beeswax
- 3g (about 1 tsp) jojoba oil (or other carrier oil)
- 6 drops lavender essential oil
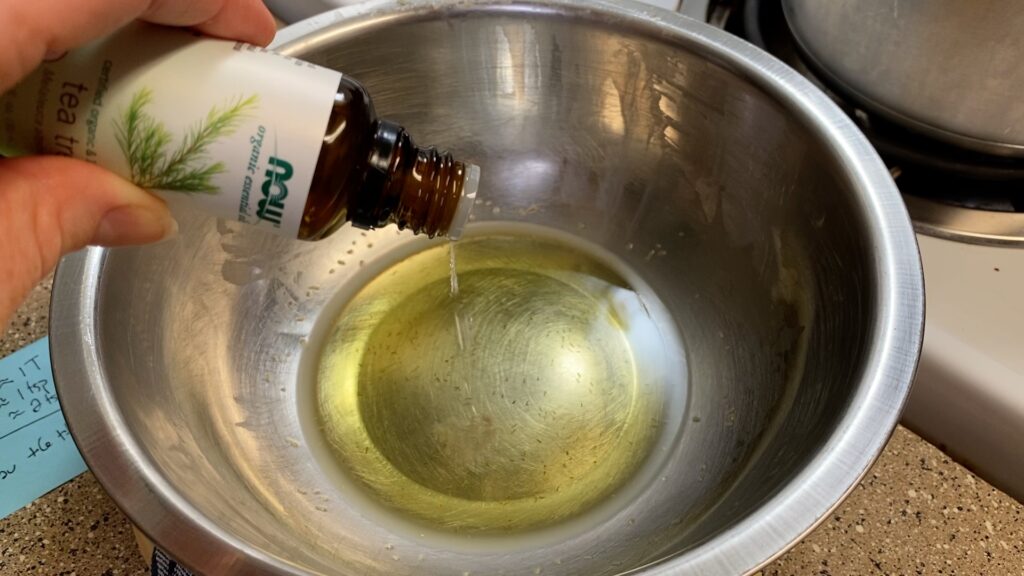
- 6 drops tea tree essential oil
- a few drops of vitamin E oil (optional)
Tools
- 4-5 chapstick tubes or lip balm type containers
- a saucepan and a small heat proof bowl OR a double boiler
- spatula
- a kitchen scale (optional, but useful)
Instructions
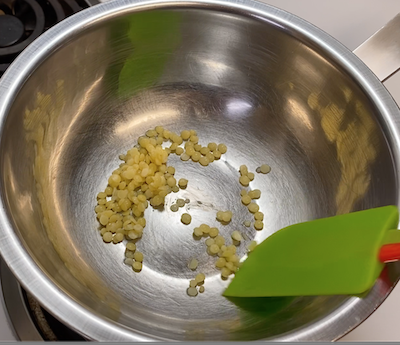
- Place beeswax, chamomile coconut oil, and jojoba oil (or other carrier oil such as sweet almond, grapeseed, etc.) in a double boiler or a heatproof bowl on top of a saucepan of simmering water. Stir gently until all are completely melted.
- Remove from heat and stir in vitamin E oil and essential oils.
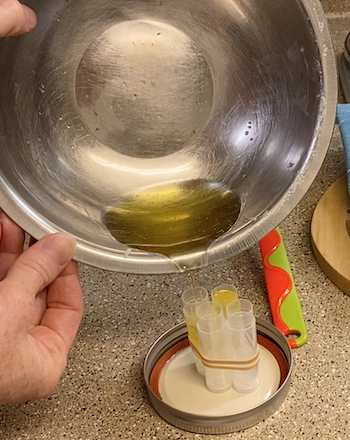
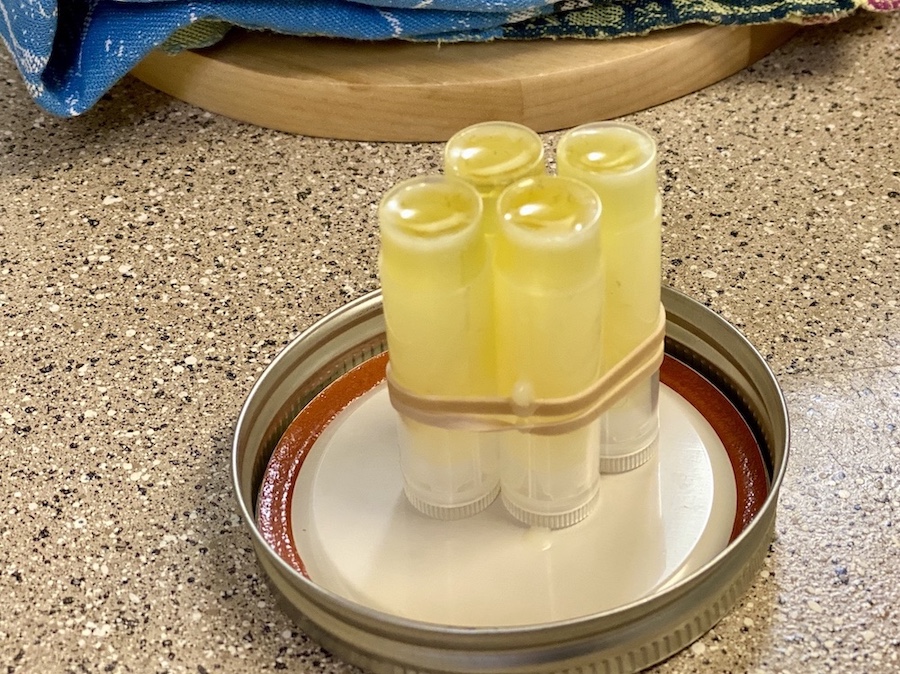
- Carefully (but quickly) pour the liquid oil mixture into chapstick tubes and allow to sit until the product has completely cooled. (For faster results move the tubes to the fridge after it’s begun to solidify.)
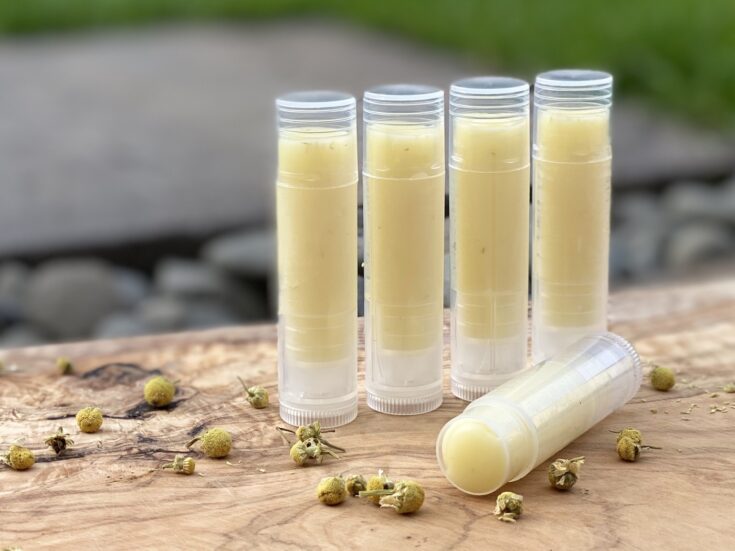
- When the balm is completely cool, cap it and apply as needed to bites, stings, and minor itchy skin irritations! Your itchy balm should be good for about 6 months to a year (depending on the freshness of your ingredients.)
Notes
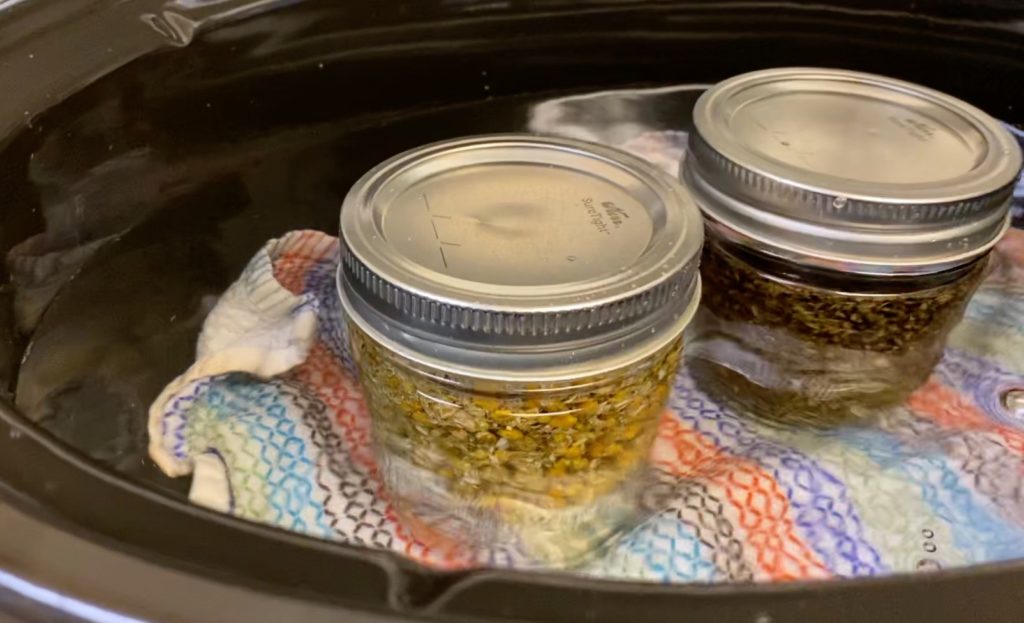
*Making chamomile infused coconut oil is simple! Here's my tutorial for how to make it overnight in a crockpot. BUT if you don't have this, just use regular coconut oil. Or you could add a few drops of chamomile essential oil at the end!
Pro Tip: For easier filling, I like to secure my tubes together with a rubber band!
DISCLAIMER: This balm is intended for relief from minor bug bites or skin irritation. If you are having a serious allergic reaction to a bite or sting, please seek medical attention! While this information is accurate to the best of my knowledge and based on best practices, I am not a doctor. Please check with your health care provider if you have concerns about whether using lavender, tea tree, or any essential oils, is appropriate for you or your children.
Recommended Products
As an Amazon Associate and member of other affiliate programs, I earn from qualifying purchases.
-
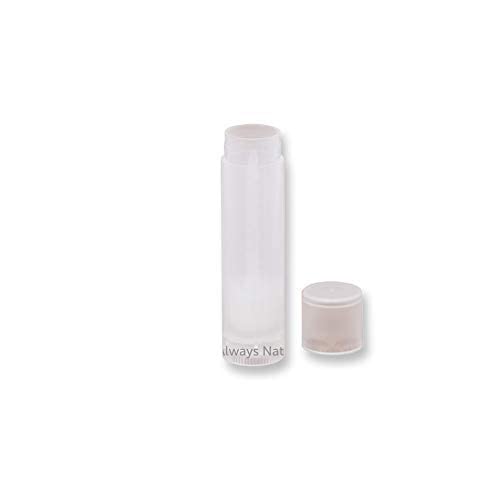 Bottles And Tins Empty Lip Balm Tubes, Clear/Transparent (Pack of 50)
 -
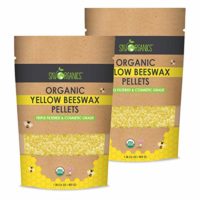 Sky Organics USDA Organic Yellow Beeswax Pellets (2lb) Pure Beeswax No Toxic Pesticides or Chemicals - 3 x Filtered, Easy Melt Pastilles- for DIY, Candles, Skin Care, Lip Balm (Pack of 2)
 -
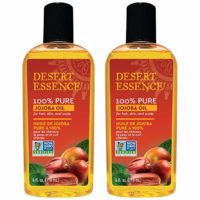 Desert Essence 100% Pure Jojoba Oil - 4 Fl Oz - Pack of 2 - Haircare & Skincare Essential Oil - All Skin Types - No Oily Residue - May Help Prevent Flakiness - Makeup Remover - Aftershave Moisturizer
 -
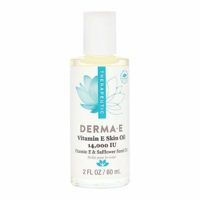 DERMA E Vitamin E Skin Oil 14,000 IU 2 fl oz
 -
 NOW, 100% Pure Lavendar Oil, 1 Oz
 -
 Now Foods, Essential Oil Tea Tree Organic, 1 Fl Oz
 -
 Organic Extra Virgin Coconut Oil by Sky Organics 16.9 oz- USDA Organic Coconut Oil, Cold-Pressed, Kosher, Cruelty-Free, Color Corrector, Skin Moisturizer, Hair Treatment & Baking(1 Pack)
 -
 Ozeri ZK14-S Pronto Digital Multifunction Kitchen and Food Scale, Black