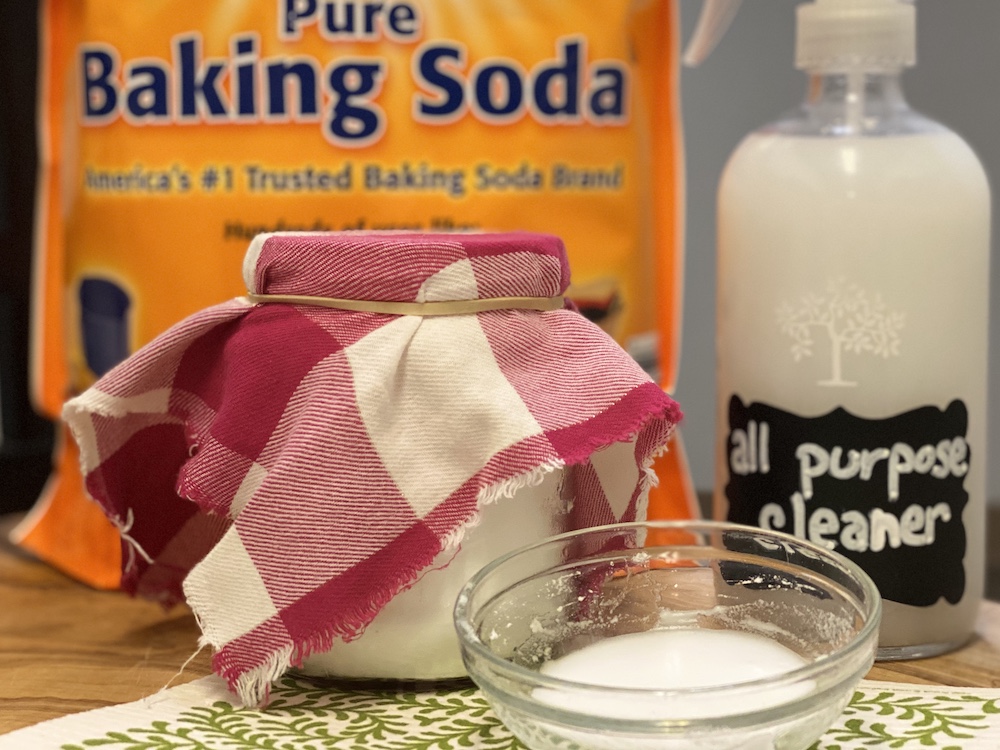
This post contains affiliate links. As an Amazon Associate I earn from qualifying purchases. This means if you make a purchase from a link on my site, I may earn a commission at no extra cost to you. I will never recommend a product or service that I do not personally use or like.
Baking soda. Sodium bicarbonate. This miracle substance is one of the true superstars of any natural, frugal home. From baking to body care to laundry, this humble powder literally has hundreds of uses! And as March roars in like a lion, it’s time to roll up our sleeves for a bit of spring cleaning! Today’s project: clean out that fridge with baking soda!
Why is Baking Soda Good for Cleaning?
In every green cleaning cabinet, you will likely find a jumbo container of baking soda. And for good reason. This will certainly not be the last time we chat about this amazing multitasker. But for today, let’s focus on ways to use baking soda to clean your fridge. Of course, these same tips and tricks can be used all around your home.
Baking soda is natural, nontoxic, and an excellent cleaning agent for three main reasons. First, it absorbs odors, not just masks them. Second, it is a gentle, yet highly effective, abrasive. And third, when mixed with vinegar, à la your middle school volcano project, it causes an acid-base reaction that cuts through grease. For more science-y facts check out this article.
Why “Green” Cleaning Matters
“The air inside our homes is 2 to 5 times more polluted than the air outside,” according to the Environmental Working Group. Between our furniture, flooring, paint, and all the products we use, pollution really starts to build up inside! Many commercial cleaning products contain chemicals that are linked to developmental harm, cancers, and are especially damaging to our lungs. (source)
But here comes the good news… with a few simple and inexpensive ingredients, we can clean just about anything safely and effectively! My favorites are vinegar, castile soap, hydrogen peroxide, and, of course, BAKING SODA!
Cleaning My Fridge with Baking Soda
Ok, so let’s just get to it. I’m gonna be straight with you and confess that I am not a terribly great housekeeper. I generally manage to keep my food prep surfaces clean and I vacuum regularly, but when it comes to deep cleaning…well… Let’s just say I’m more of a “spot cleaner.” But with springtime rapidly approaching, I felt inspired to talk about green cleaning. And what better way than by shamelessly making a video about it! I guess the best way to start a big cleaning spree is by tackling one single task at a time. I jumped in by using baking soda to clean my fridge, 5 different ways!
Tip #1: All Purpose Baking Soda Cleaning Spray
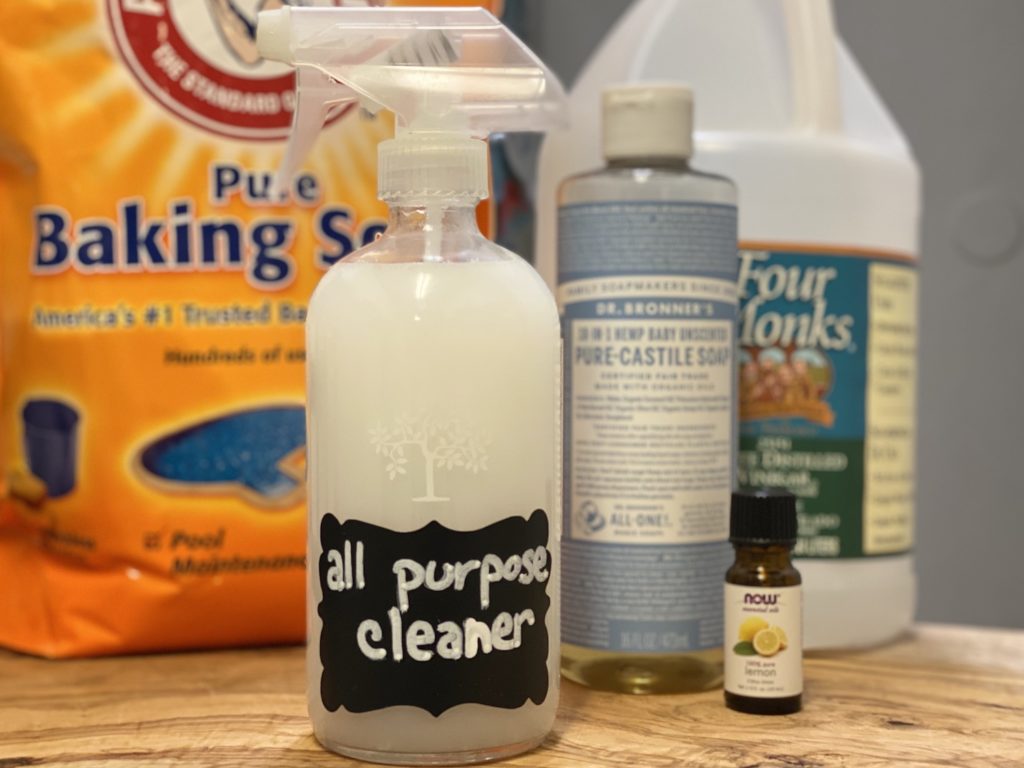
Before I hauled all the stuff out of the ice box, I whipped up this quick DIY all purpose cleaning spray from ApartmentTherapy.com.
- 1 tsp baking soda
- ½ tsp castile soap
- 2 T white distilled vinegar
- (optional) a few drops of lemon essential oil
- water
In a glass spray bottle, I mixed the baking soda, castile soap, and vinegar together until the fizzing subsided and then filled the rest of my bottle with warmish water. You could add a few drops of lemon or other essential oil if you want, but for this batch, I left it out.
Next, the scary part; I took everything out of my fridge. Then, I liberally sprayed the entire inside with the baking soda cleaning spray. I let it sit for a few minutes while I rinsed my crisper drawer and then set to work wiping everything down: shelves, walls, ceiling, drawers, gaskets, etc. You could use a sponge or a rag, but I wanted to try out my new Swedish Dish Cloth that I recently received in my MightyFix.
Tip #2: Baking Soda Scrubbing Paste
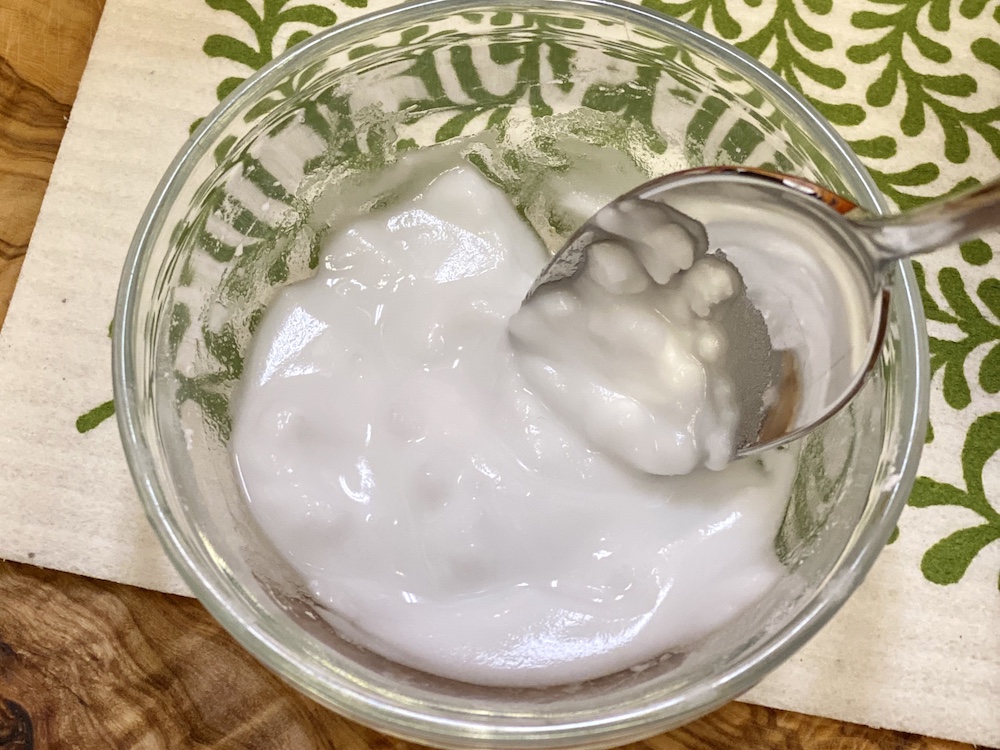
Next for a little elbow grease. Mix about 3 parts baking soda with 1 part water to form a thick paste. Apply it to icky stuck on stuff or unidentified fridge stains and give it a good scrub using a damp sponge or cloth. This is hands down my favorite way to clean with baking soda, fridge or otherwise. If you have never done this before, the results are amazing!
It can admittedly get a bit messy, so after you’re finished scrubbing any stubborn spots, go back over with a damp rag or sponge to wipe it clean. (Baking soda paste can leave a bit of a residue behind if you don’t wipe it off.)
Tip #3: Baking Soda Fridge Deodorizer
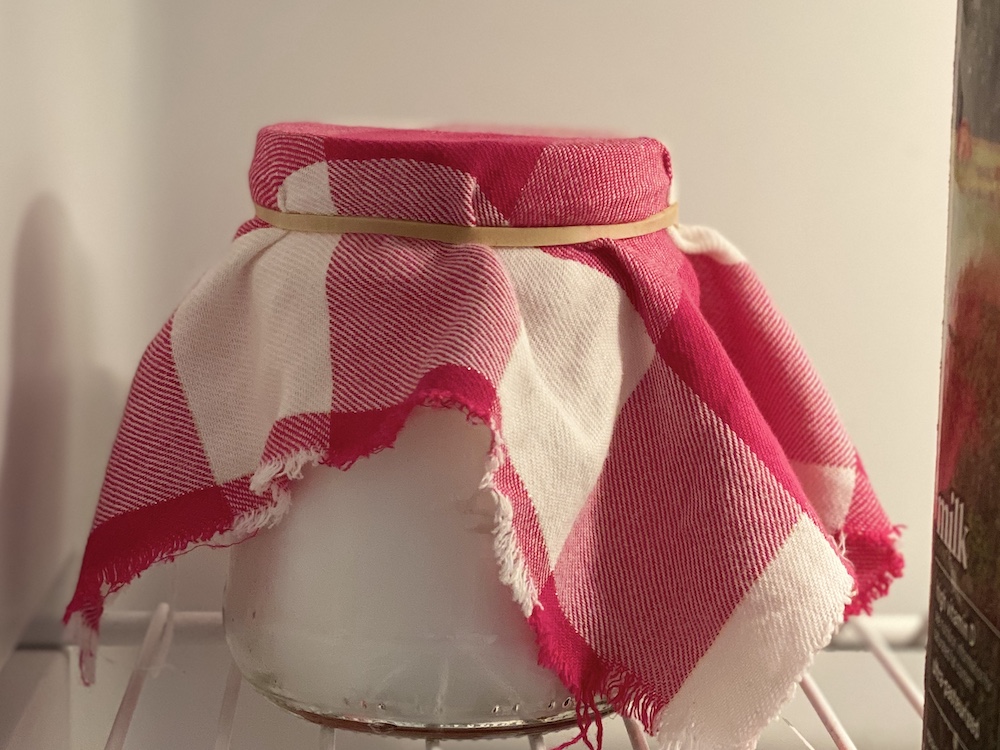
Now that we have our refrigerator all sparkly and fresh, let’s keep it that way! This is the classic baking soda box in the back of the fridge trick. Like I mentioned, baking soda is excellent at absorbing odors from both acidic sources (like sour milk) and basic ones (like rotting meat). If you buy the gigantic super-sized bag of baking soda, you can simple fill a container or jar with baking soda and cover it with a cheesecloth or thin piece of fabric. I used one of my million no-sew cloth wipes and secured it with a rubber band.
In order for this to work, the baking soda literally absorbs the odors. To keep your fridge fresh, change the baking soda every few months. (Or more often if perhaps it’s been working overtime on some especially stinky smells…) I wrote the date on my jar to help me remember when to swap it out for a new one.
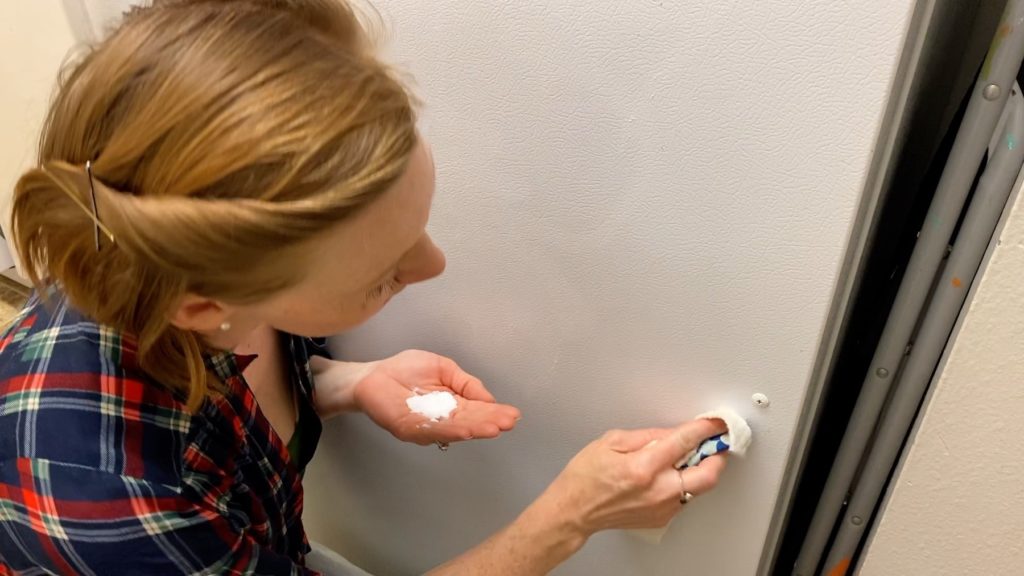
Tip #4: DIY Baking Soda "Magic Eraser"
Now to tackle the outside of the fridge! Put a small amount of dry baking soda in your hand or a bowl and dip a damp sponge in it just a little. With just a touch of baking soda on the sponge, it becomes a DIY “Magic Eraser” which can easily remove scuffs and marks. Use this to gently buff the doors, handles, and even the nearby walls and cabinets. (I would recommend testing an inconspicuous spot on a painted wall or surface before going to town, but I haven’t had a problem with paint coming off.)
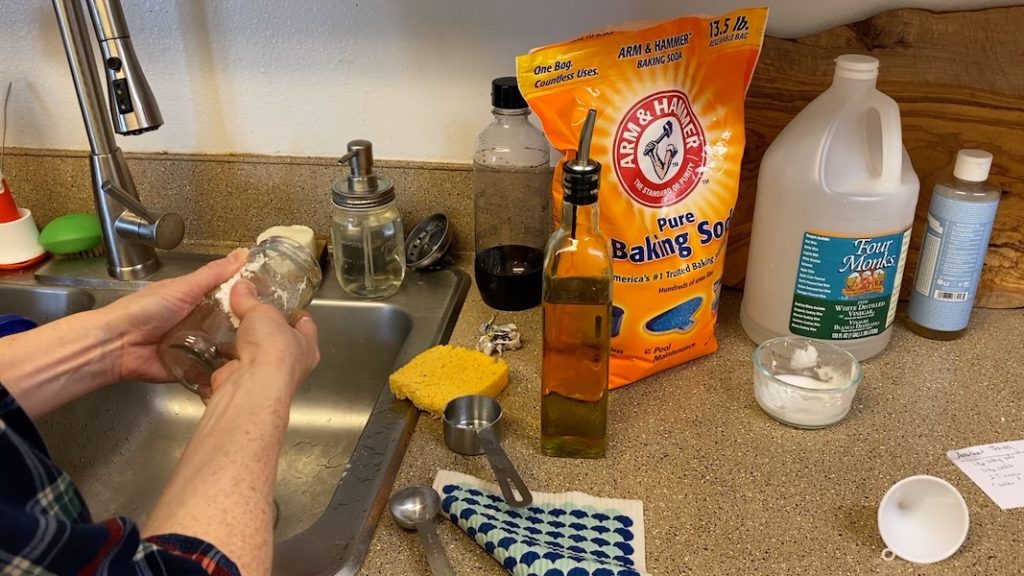
Tip #5: Jar Label Remover
I had to make some tough decisions about what to toss and what to put back in the fridge. As much as I hate food waste, keeping on top of what’s expired or questionable can actually help us prevent more waste going forward. When the fridge isn’t cluttered up with forgotten salsa jars or old leftovers, we can actually see what’s in there and use what we have. (Baking soda will sadly not help with this task.)
Once you’ve sorted out the stuff that is past its prime, you might find yourself with a number of empty glass jars. Hooray! Free containers! While I have a deep seeded affection for my Mason jars, I also love to reuse glass jars. They are excellent for storing leftovers, holding dry bulk goods, homemade salad dressings and sauces, corralling small objects, DIY craft projects, and so on. It’s true that glass is infinitely recyclable, but the process of melting it down and re-manufacturing uses a tremendous amount of energy. If at all possible, it’s best to try and turn single use jars and containers into to multiple use items.
But those sticky labels, though! One of my favorite tricks for removing stuck on labels is to start by filling the (empty) jar with hot water and allowing it to sit for a minute or two. This will warm up the adhesive a bit and allow you to peel most of the paper part off. Next, drizzle a little olive oil on the stuck on sticky part and then sprinkle with baking soda. Gently rub with your fingers to form an oily paste. The adhesive should slip right off! Wash it up and reuse, reuse, reuse. But maybe next time, don’t let it sit in the back of the fridge quiet so long…
How I Love Thee, Let Me Count the Ways...
Oh how many other million ways there are to use baking soda! Gimme your favorite kitchen cleaning baking soda hacks! Please, comment below! (I need all the cleaning inspo I can get.)